Red Abalone, Sonoma Coast

Hello friends!

It’s approaching the end of abalone season where we live, and we recently got the chance to go out looking for some during a low tide. Most people dive for abalone but it is quite dangerous even if you are a well seasoned swimmer the waters off the Sonoma Coast here in Northern California can be some of the coldest and roughest out there. Instead we take another approach and wait for a negative low tide to go out and harvest the abalone closest to shore. There are many rules and regulations to stay up to date on when it comes to going for abalone or just fish and game in general. It’s crucial to follow and keep updated with these in the state you live.

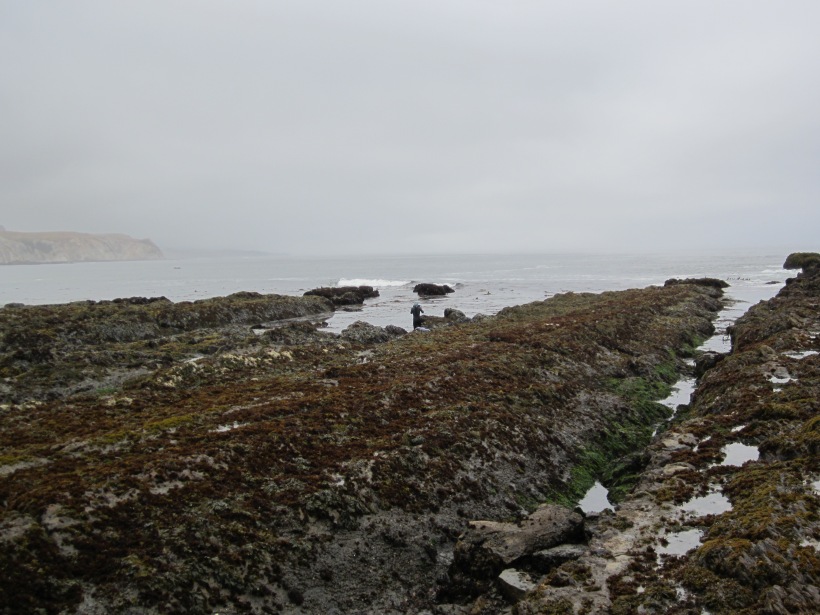
A group of us drove out a few hours on two separate days, in hopes of getting the limit of 3 abalones per person per day (of course with proper license and tags). Once we got to the place we parked and trekked through rocky, slippery wet coastline til we got to the desired spot about a 45 minute walk from the where we parked.

Since we are novice at this we did end up leaving empty-handed as far as abalone go. Although it was still fun to see all of the tide pools and living creatures that reside on the coastline. One of our friends was able to get a couple of abalone and here are some from the two separate days we went, On the first day we attempted the low tide was later in the day around 1-2pm so it was a lot easier getting the spot because most of the rocks were dried up by the sun. On day two it was a darker, misty, foggy early morning negative tide which meant that the rocks were extra slippery because there was no sun to help dry them so it was more difficult but a doable more wet hike.

IMG_7449

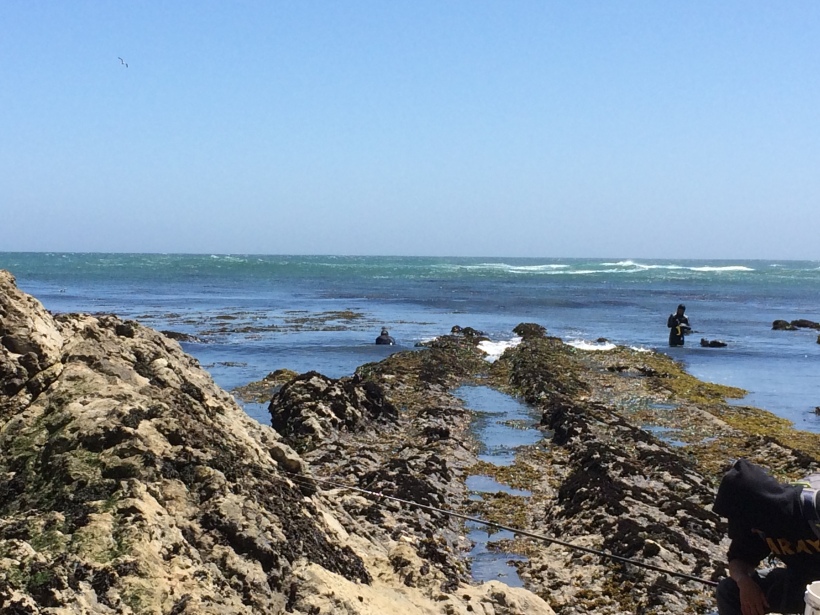
It is really beautiful there and worth the rugged trek, so much to see from sea snails to hermit crabs to little fish and star fish, sea urchins, mussels, and all kinds of sea weed and barnacles ect the list is endless.

IMG_0001IMG_0002

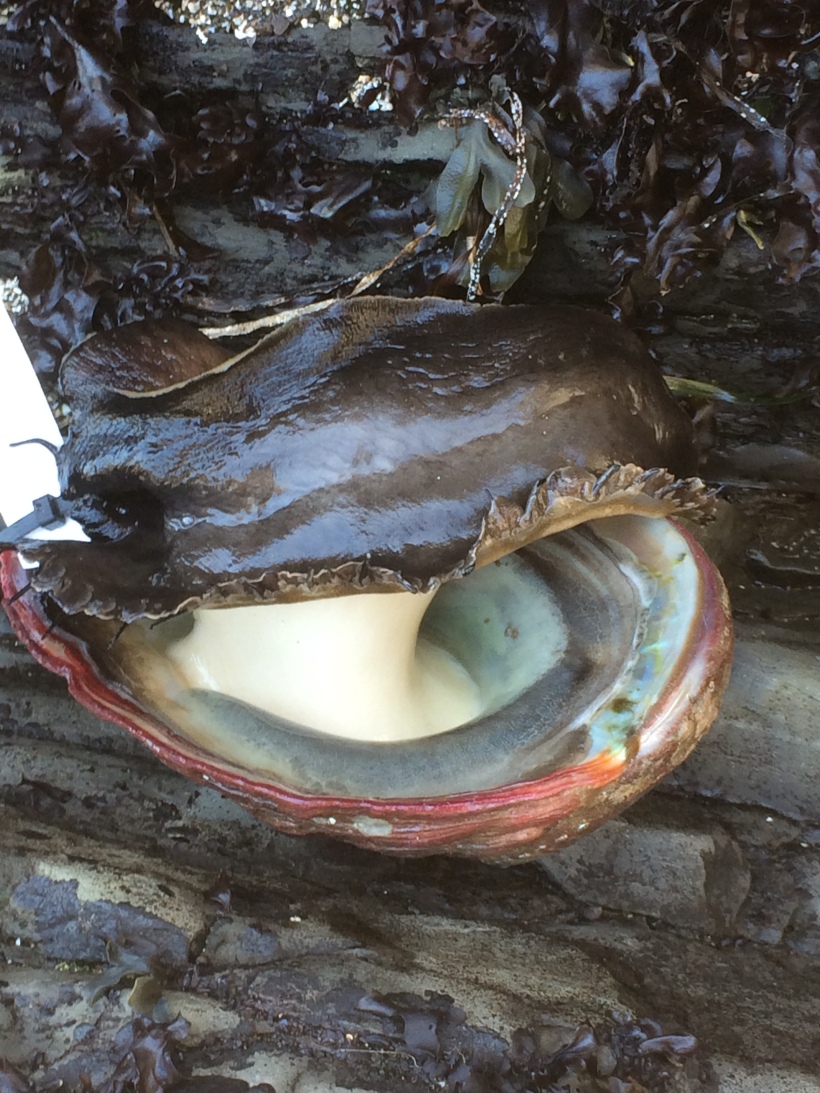
The one friend that was able to get a couple abalone let me snap some pictures their shells are very beautiful and vary in colors so they’re all different. And many people are able to make jewellery, ash trays and all kinds of neat things with the huge shell they carry.

IMG_7440IMG_0011

Thank you for reading, the season opens up again from August to October where we live so we will do an updated post if we end up getting one we will let you guys know!

Joshua Tree National Park April 2017

Hello friends!

We finally got out to experience Joshua Tree, located in Southern California. It was beautiful and we plan on returning one day for sure. This trip has been on our list for some time now, and we’ve heard that spring time down in Joshua Tree is the ideal time to visit because the  flowers would be bloomed and the heat would not be as scorching since it is basically a desert climate. We camped at the first campsite as you enter the park Black Rock Campground it was called – this campsite was amazing it had potable water and running water in the sinks and toilets, which is kind of crazy for camping in our opinion, quite luxurious. But nonetheless it was a nice change from the campgrounds we frequent.

A very clean camp, and located near some awesome trails. We stayed for 1 day and 1 night, which was surprisingly enough time for us. There was an abundance of life from road runners, quails, to all different species of lizards and even an infamous desert tortoise that we could not find for the life of us. Various species of plants we’ve never seen before and unique terrain. We set up camp, hiked for a few hours and then came back and had dinner. The park is massive and filled to the brim with Joshua Trees at every turn. Joshua Tree is known for its unique huge rock and bolder formations as well as the Joshua Trees themselves. Unfortunately our campsite was not located close to these formations. But it was just a short 15 minute drive deeper into the park to Indian Cove Campground – to see a drastic change in landscapes.

We would definitely recommend Black Rock Campground if it is your first time visiting the park, for it offers many trails to hike and beautiful well maintain grounds. All campsites get booked up quickly, so we would recommend looking into reservations months in advance. Although once you go deeper into the park they do offer first come first serve campgrounds one of the most popular camps is Indian cove, and people love to visit camp and go rock climb, though you would have to bring your own drinking water since there is no running water that deep into the park. Next time we visit we would want to stay closer to the rock formations further away from city lights to get an amazing view of the stars.


Hope you all can enjoy the photos we were able to capture.

IMGP4470
Sibling Fun!


IMGP4319

imgp4303.jpg

IMGP4435

IMGP4487

IMGP4465

Until Next time friends 🙂

DIY – Sprouting sprouts

img_0003

Hello all, We’ve been away for a bit but we are back with a how to on growing your own sprouts at home instead of buying them in tiny amounts at your local market. You will get more bang for your buck and ton of sprouts, its super simple and easy to do. This process will take about a week, for our batch we did 6 days. These nutrient dense alfalfa sprouts or any kind of sprouts are an amazing addition to anyone’s diet.

First things first you will need the following:

  1. Sprouting seeds (you can order these online there are many varieties.)
  2. Mason Jar (Quart sized)
  3. Cheese cloth
  4. Rubber bands (If you don’t have the lid to your jar of choice)
  5. Salad Spinner

Starting off on night 1 soak the seeds for a good 3-4 hours. You will need 2 table spoons of seeds per one 16 once jar. Here we are using alfalfa seeds that we soaked in lukewarm water for a little over 4 hours.

After you have soaked your seeds for a few hours you will apply the cheese cloth, pull the cloth taut and secure it down with the rubber bands. Take some scissors and trim the cheese cloth because the access cloth will retain a bit unnecessary water through this process. This will allow for proper straining of the seeds/sprouts.

Once you have strained the seeds place the jar down at a 45° angle in a bowl or a small pot. This allows any access water to drain. Then you want to place the jar somewhere it will get indirect sunlight like a windowsill. We use a small pot and place it on our kitchen table where we have a window to supply the indirect light.

For the next week rinse the seeds twice a day for 3 days, then after rinse the seeds/sprouts once a day for 3-4 more days (depending on if the sprouts are grown to your liking.) Now we will show you the progress of each day for one week.

Day 1 / Night 1 – Rinsed once morning and once in the evening.

Day 2 / Night 2 – Rinsed once morning and once in the evening. As you can see they sprout quite quickly.

Day 3 / Night 3 – Rinsed once morning and once in the evening. They should be growing denser and denser each day.

Day 4 / Night 4 – Rinsed once in the morning.

Day 5 / Night 5 – Rinsed once in the morning and let drain thoroughly.

Day 6 / Night 6 – Rinsed once in the morning, harvested on this day. Once you’ve rinsed for the last time it is now time to take them out of the jar and enjoy! You may notice that the seed hulls have been left behind a lot of them. An option that we included  to de-hull them which we tried was using a salad spinner. This helps remove a good amount of the hulls, also another option is to soak the sprouts and the hulls will float right up, and you will be able to dry the sprouts with the salad spinner. Honestly we don’t mind the seed hulls and will just enjoy them right out of the jar. But we wanted to include how to ‘get rid of them’ options for those of you who do not enjoy them.

Storage and ways to enjoy your labor of love – for storing we like to place them into a zip log bag with paper towels to soak up any extra moisture that may occur. Any air tight container will work, we do recommend adding the paper towel to keep them fresh for longer. But if you’re like us these don’t last very long in our house.

For eating we recommend them in salads, sandwiches, stir frys, wraps, spring rolls and to top off any pizza or any noodles. They go well with anything really. Please give this try and let us know how it goes! We hope you enjoy these nutrient dense, crunchy, crisp sprouts.